
With my love of floaty skirts and overwhelming need to be the ‘mum friend’, it was eventually going to happen… That’s right folks, I’m what the cool kids are calling a ‘plant mom’.
As soon as lockdown hit, I got my first houseplant, and since then my plant habit has slowly been getting out of control. It’s infiltrated my blog and my Instagram, and is filling up every corner of my bedroom and kitchen. Whenever I post a picture featuring my plants (which is more often than not), I tend to get asked a lot of questions. Mainly – “omg what plant is this?” “How do you keep your alive? I keep killing mine!” “Seriously, where do you buy these plants from?”. Well, my lovelies, let me tell you! Here’s a little meet and greet with my plants, complete with some tried and tested top tips.
English Ivy – imaginatively named ‘Evie’
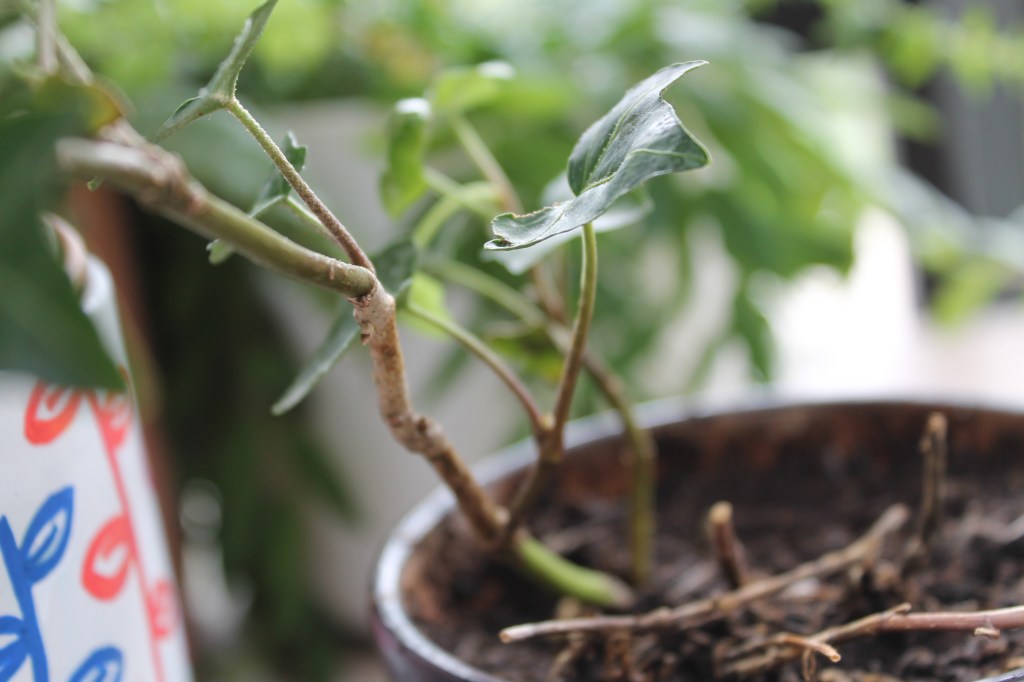

I picked this Ivy up from my local independent florists Catkin and Pussywillow, a few weeks before lockdown began. I was on the way back from my final doctors appointment regarding my lovely undiagnosed stomach problem, and though I’d treat myself for putting up with so much shit (figuratively and literally). So, I picked up this English Ivy! It looked a lot different back then (but we’ll get to that in a minute), and little did I know it would become my work-from-home companion.
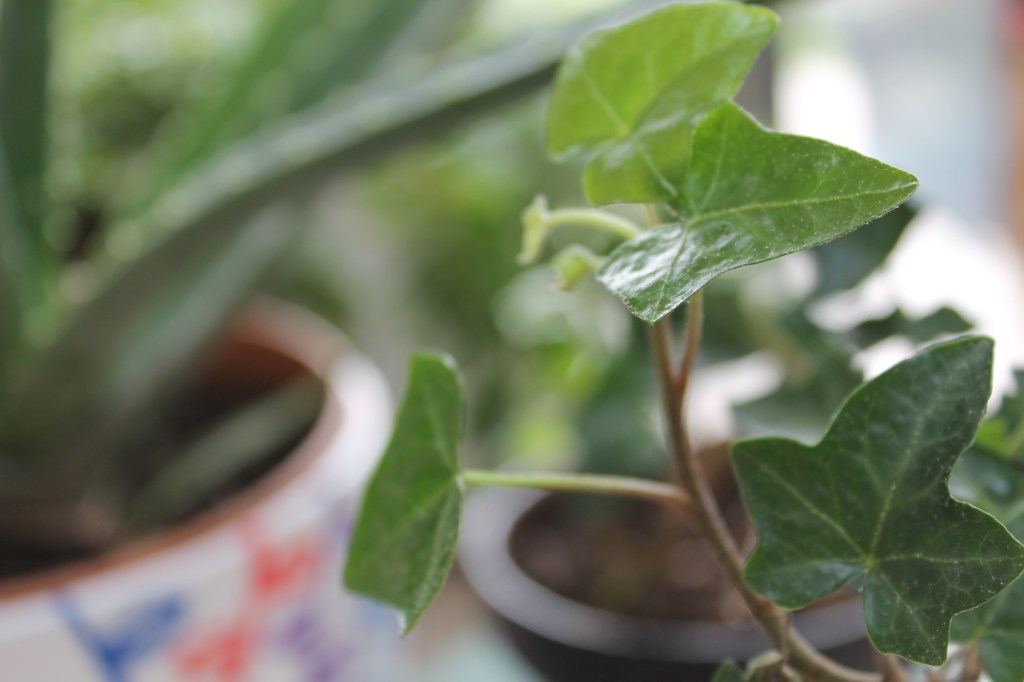
I placed the Ivy on my window sill, all bright green leaves and moss, looking lovely. And then – I killed it. Well, nearly. Ivies like bright and medium light, not the direct and hot sunlight my window sill offered. Unfortunately, the leaves turned brown and started to flake off. I made the decision to trim all the leaves back and just let it grow from scratch. Luckily, my housemates found a lovely but small section of Ivy growing in our garden, and gifted it to me to plant in the pot too! So, the luscious, green section of the plant is from my garden, and the twigs at the bottom are the original plant! (I can confirm those twigs are growing, by the way…)
How do I look after my Ivy?
I keep it in indirect but bright sunlight (about two metres away from my window). The pot has drainage holes (we don’t want root rot), and I water it twice a week. One of those waterings is actually in the shower! Putting your Ivy in the shower and washing it for a few minutes washes away any bugs or dust that build up (and trust me, it builds up quickly).
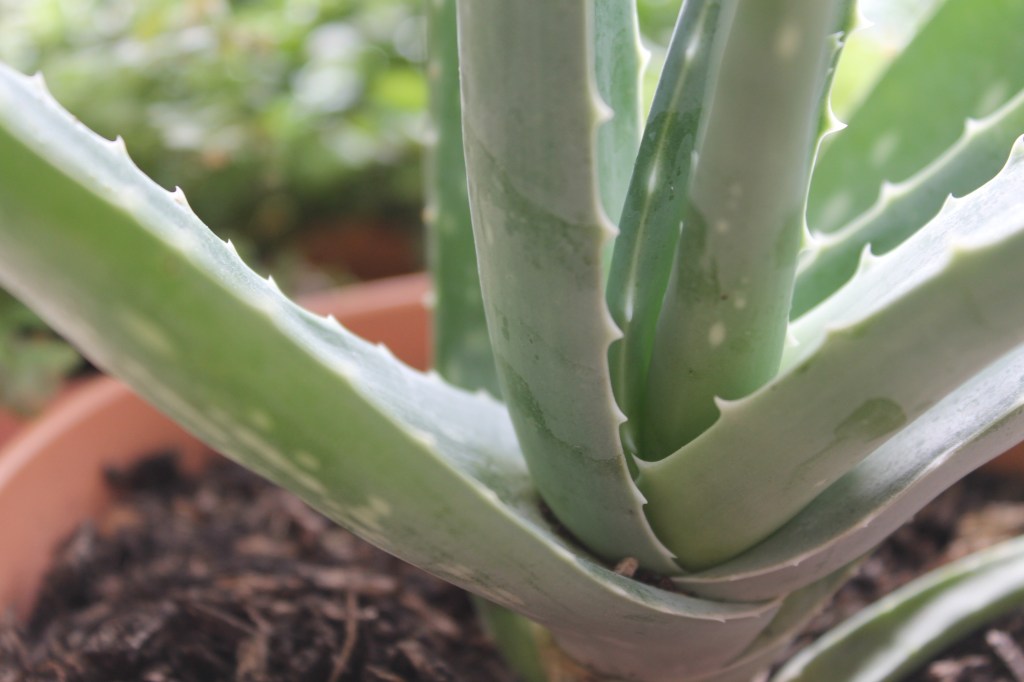
Aloe Vera – Named ‘Legolas’ because he’s a leggy Aloe

This plant was the first of my lockdown Amazon Prime orders; ahh, sweet memories. In all honesty, I’ve since learnt that ordering plants from Amazon (and anything else really) isn’t the best way to go about things, so if you can afford to buy local or from a dedicated plant store, please do so.
Learning that I would be working from home for the foreseeable future, I decided to get my Ivy a housemate; enter my Aloe Vera! It arrived on time, a little ruffled, and with soil everywhere, but seemed healthy enough. I also ordered some stones and a big white pot for the nursery pot to sit inside of, and ended up decorating the pot with Sharpies and Modge Podge (although the Sharpies faded in the sun, so I’ve since gone over it with Posca Pens).
Thanks to the mistakes I made with my Ivy (i.e. killing it), I’ve learnt more about plant care so my Aloe has been pretty happy, apart from a few amputations. A frond got trapped in the window, so I had to cut it off, and there was an issue where the fronds were reaching out for light instead of up, and one ended up breaking under its own weight. A few swift cuts with a knife, and one nursery pot repotting later, and Legolas is looking as good as new.

How do I look after my Aloe Vera?
My Aloe is a bit more robust than my Ivy, so currently sits at the centre of my window sill, lapping up that sun. I water every three weeks as the leaves hold a lot of water. You only need to water if the soil is very dry! I lined the white pot with stones to assist with draining, as Aloes do not like staying damp.
Boston Fern (‘Bernie’) and Lipstick Plant (‘Jethro’) – both purchased from Patch Plants!
I’d like to thank blogger Grace Victory for pointing me towards the awesomeness that is Patch Plants. Count me as #influenced.
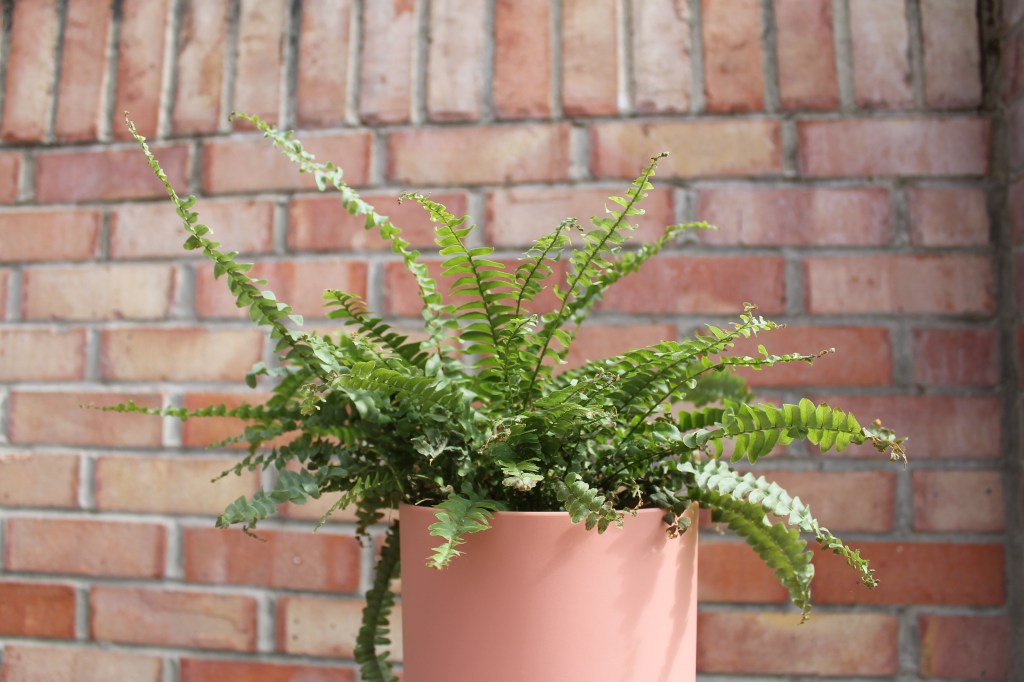

Based on what space I had left in my bedroom (mainly on my window sill and desk), I bought two houseplants from Patch – the Boston Fern and the Lipstick Plant (which is also known as Aeschynanthus Japhrolepsis, I’ll have you know). Both are very easy to look after, and look really good in any pot. The Lipstick plant tends to be suited to be a hanging plant, but living in a rented property, I couldn’t bring myself to drill hooks into the ceiling. So, I made a little stand out of old books on my windowsill, so the leaves can hang down! Like the Aloe, the Boston Fern sits on a row of stones with the nursery pot on top to ensure excess water is drained off, and is a lovely addition to my desk.
Whilst these plants have slightly different needs, there’s one thing that they both love – misting. I mist both of these once a day because they love the humidity. When I buy my own place, you can guarantee I’ll be keeping these plants in the bathroom (and will have many hanging plants!).

How do I look after my Boston Fern and Lipstick Plant?
I water them once a week, and take notice of the soil. If the top inch of soil is dry for the Fern and the top two inches are dry for the Lipstick plant, that’s a signifier that they need watering. As I’ve already said, I mist them once a day to give them that humid atmosphere they crave. Finally, I keep the Lipstick plant on my window sill (they like bright light), and the Fern on my desk (for some bright light and partial shade).
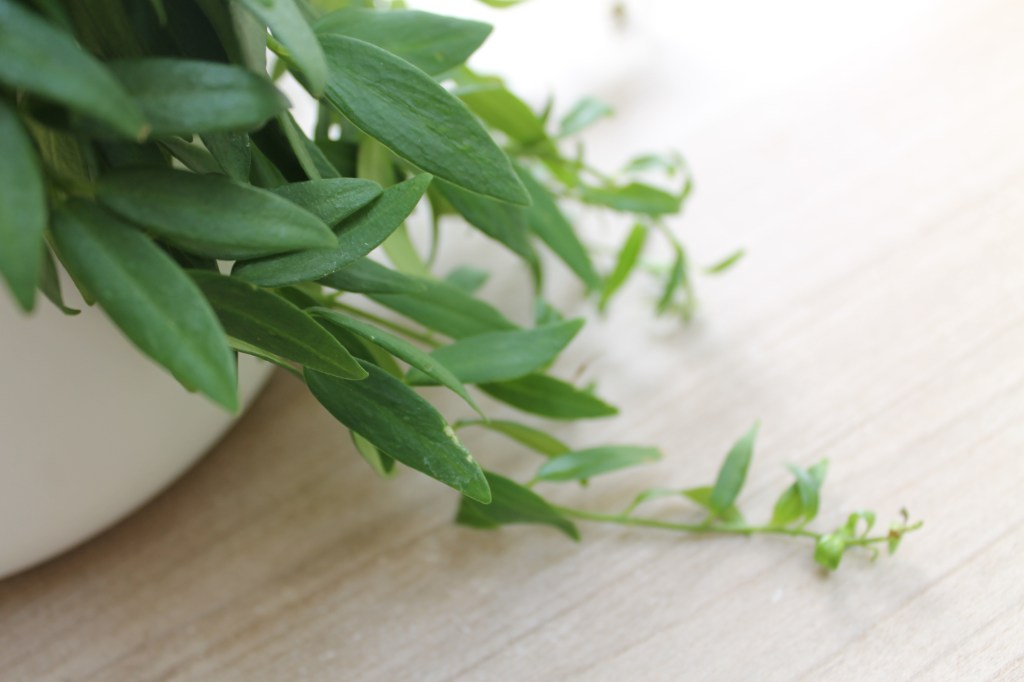
Herbs – homegrown, may I add!
Lining my kitchen counter, I have a multitude of herbs growing; Basil, Mint, Thyme, Sage, Parsley, aaaand another Basil. Sure, they take over the counter, but I am the most proud of these plants, as I grew them myself! Plus, I’ve also started growing leeks which I propagated myself, so they’ve been welcomed to the growing station.
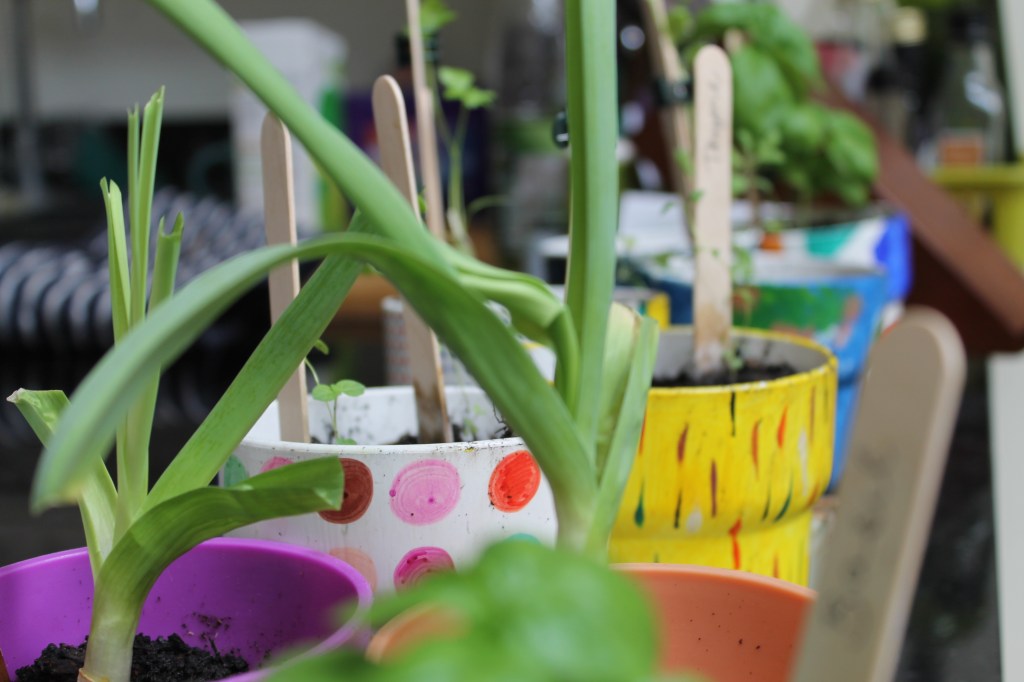
Originally arriving on my doorstep from Sow Lush, these plants started out as packets of seeds, planted into biodegradable pots. I planted each type of herb twice, and started caring for them. My chives never grew, and a few of the herbs only sprouted once, but by the end of May, I had enough baby herb plants to replant into real pots! Most of these are in the kitchen, but I did re-pot some into a planter outside.
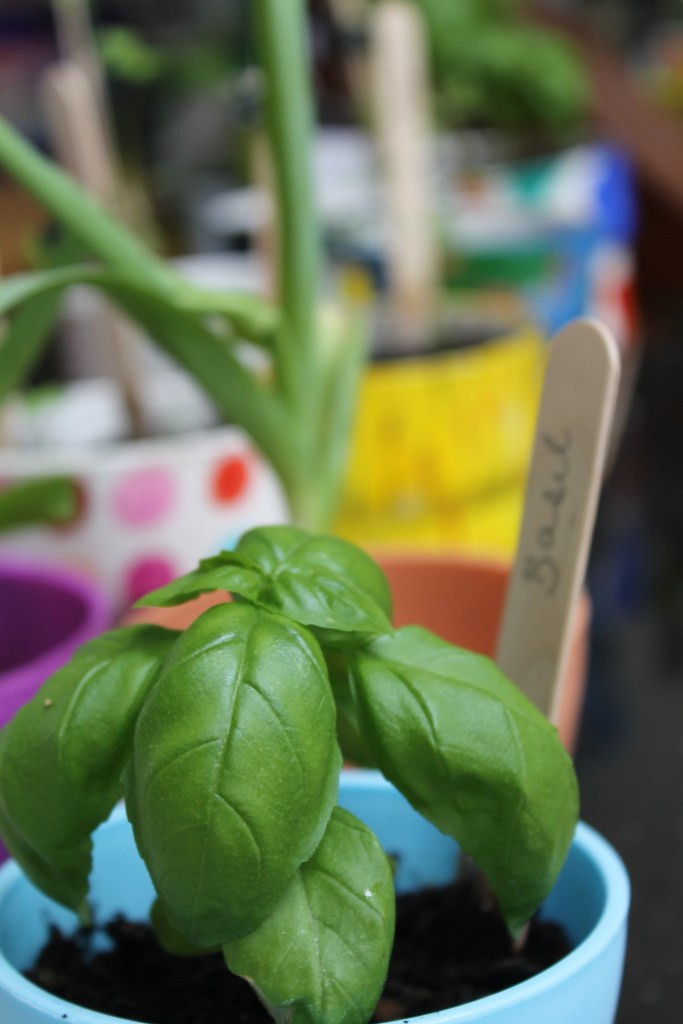
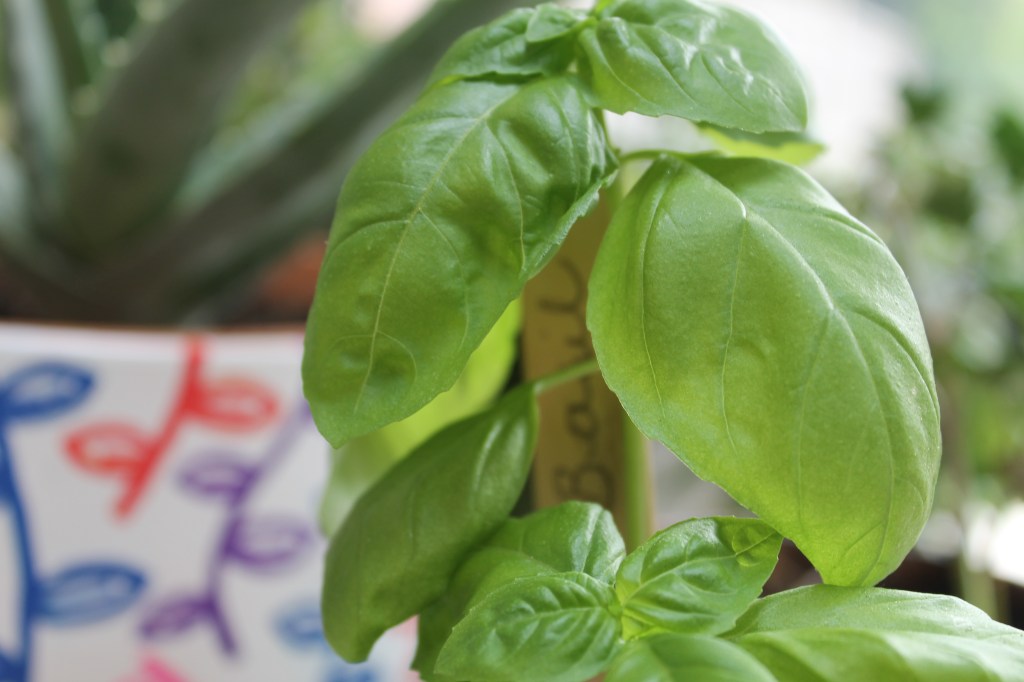
It’s going to take a few more months for them to grow into full herb plants that I can use in cooking, but even now, you can catch the scent of each of them. I won’t lie, I do stick my nose in the Basil plant every day, it just smells so lovely. Whilst I love all of my houseplants, I think my herbs are my favourite because I grew them myself, and know I can use them in my favourite hobby; cooking!
How do I look after my baby herbs?
I give them a little water each day, but am not afraid to skip a day if the soil seems too soggy. They currently have pride of place in my kitchen, under the skylights – great for sunlight. The herbs will grow at different rates, purely because they are different plants! My Basil plants are currently very strong and growing like no-one’s business, but my Mint is very slow growing. Just have patience!
–
So, those are my current houseplants, and you just know I am going to get more. Why? Because they bring me joy! I’ve got my eye on getting a Pothos and a Monstera, so we’ll have to see what my next Patch order brings!
Speaking of Patch, I’ve got a great freebie for you! Patch have a great referral scheme, so if you head on over here, you’ll get a free plant when you spend over £50! Even better, you can set up your own referral after, so you can send your own link out to friends and get some goodies yourself.
Let me know if you’ve got any house plants and what your top care tips are!
Rosie x
Instagram | Twitter | Pinterest | Bloglovin |
Educate & Donate: Stephen Lawrence Charitable Trust | Stonewall UK | Survivor’s Trust | Mind |

Leave a comment