
Buying a Victorian project house in the middle of a pandemic with limited savings to do the renovations? It’s more likely that you think…
Back in May 2021, my fiancé and I bought a house! Because the housing market is atrocious, the only way we could afford to buy was by getting a fixer upper. And I mean a real fixer-upper. When Rory stood on the stairs in the viewing, he announced “well, it just needs cleaning, at least the bones of the house are great.” At which point, a section of the stairs fell off for comedic effect. You couldn’t make it up.
Once we bought the house, we started the renovation with vigour. We had a two week window to make the place liveable before we moved in, so out came the sugar soap, floor sander, and fresh paint. Flash forward a few months, and by January 2022, we had renovated the living room, spruced up the bedroom and dining room, and completely overhauled our spare room-meets-office. Goodbye gross, sticky, mysteriously stained pink bedroom; hello pastel and boho safe space of dreams. However, our wedding soon crept up on us and when 2022 arrived, that’s where all of our time and money went.
After an eight month ‘break’ (I say break, we were crafting and DIY-ing our little butts off on the wedding front), we made the choice to start our new home project – the hallway.
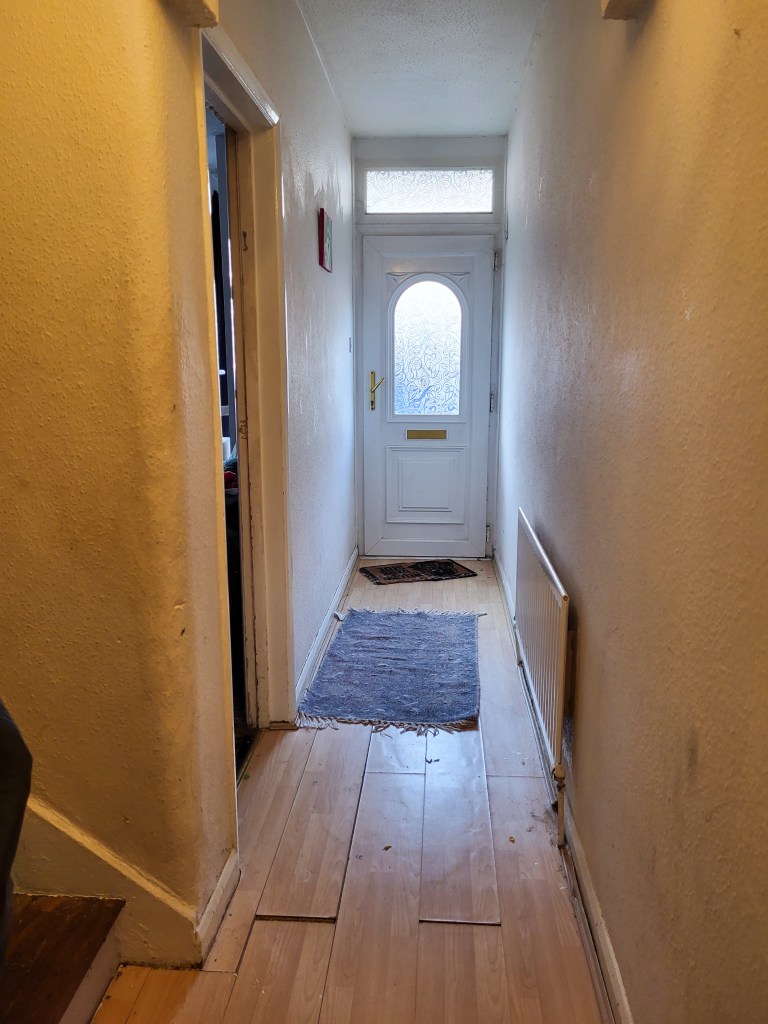
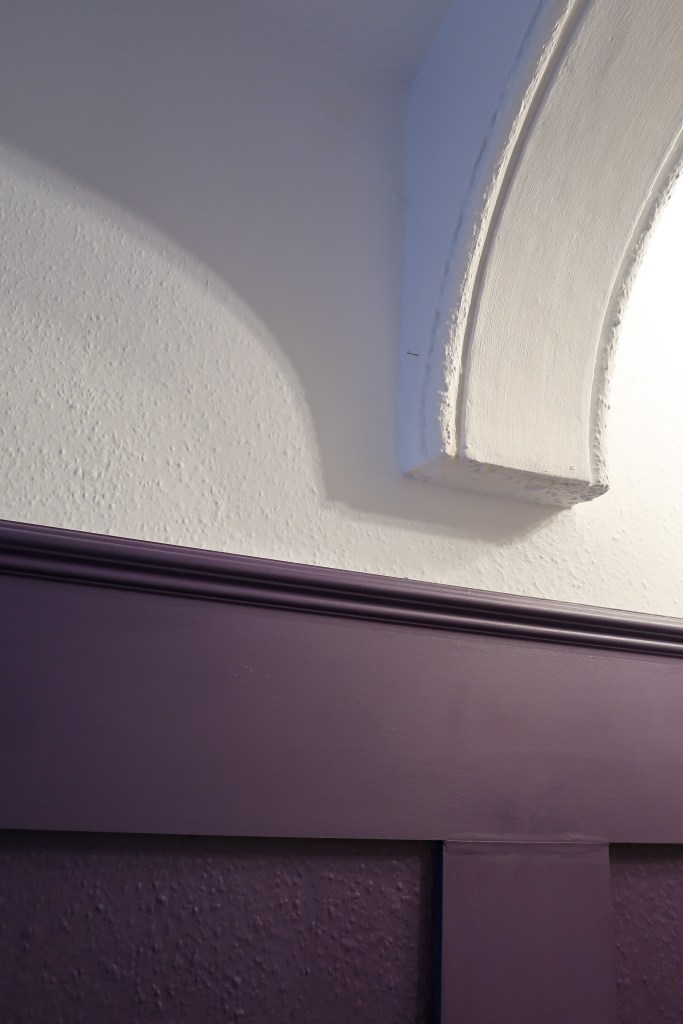
Like everything we hadn’t yet worked on in this house, it was gross. The walls were papered in woodchip, and were once painted white but had turned a horrible nicotine colour. The laminate floor was chipped, slipping about, and also covered in mysterious stains (what is it about this house?). The dusty and broken chandelier looked like it once belonged to the grey velvet and chrome movement of the noughties, and it was just an unpleasant entryway to a home. The only redeemable feature of the hallway was the Victorian archway that stands in the centre – and this is where we got our renovation inspiration from. Don’t worry, we have some photos of that looking fresh down below.
Inspired by traditional-esque Victorian hallways from Pinterest, we knew the hallway would feature wooden panelling, printed tiles, and jewel tones. You can check out my Pinterest board if you want to see some of the inspiration pictures. With a limited budget, we knew we couldn’t go the whole hog and get a new front door – or even remove the woodchip walls and replace with new wallpaper. So we put our DIY know-how to good use, learnt new skills through YouTube, and spent hours ferrying backwards and forwards to B&Q. After a month of hard work, it was done.
May I present to you, our Victorian inspired hallway of dreams.

Our tiles are from B&Q and are the ‘Geo Moroccan Blush & Blue Matt Geometric Porcelain Floor Tiles’. This isn’t a sponsored post, I don’t get anything from sharing this link, but who am I to gate keep excellent porcelain tiles?
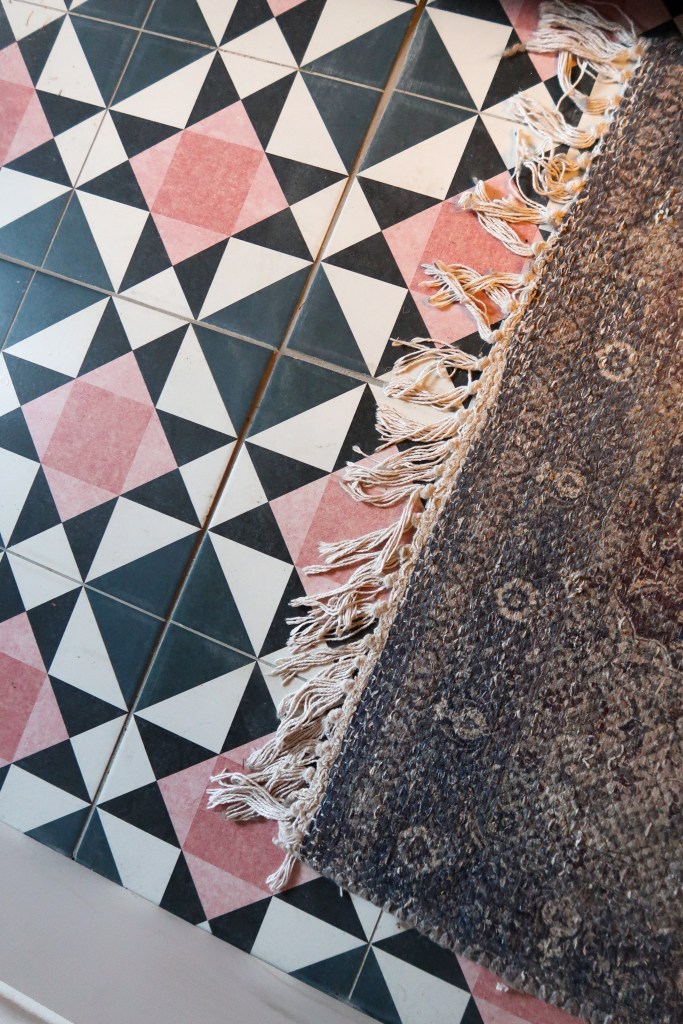
We always knew that Moroccan or printed style tiles were the way to go, but when we found these, it felt like a match made in Heaven. These tiles helped us pick the rest of our colour theme and it was all go from there. We laid the under sheets ourselves and spent many hours on YouTube learning how to apply the adhesive, cut tiles, and grout before going in, guns-a-blazing. We went with a traditional grey grout to seal the tiles. Not only would this neutral colour not detract from the colour and print of the tiles, but as this is a heavily walked area, it won’t show up dirt and grime as quickly as a lighter colour. I have to say, I am really proud of both me and my husband for the work we did with these tiles. Our hallway was wonky and difficult to navigate, which meant some of the tiling had to be wonky to fit in, but that adds more character, right?
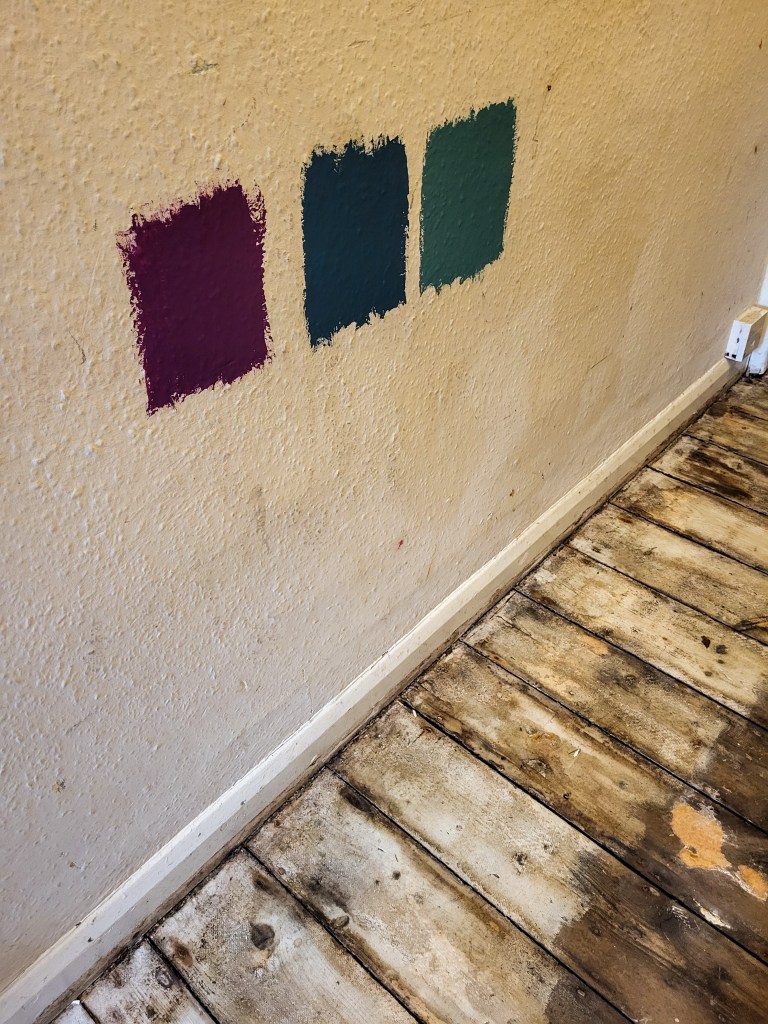
With the tiles helping to set the tone and theme of the hall, it was then we chose the colours for the walls. We always knew that we wanted a dual-tone wall, with a neutral at the top to elongate the hallway, and a darker colour at the bottom to draw your eye. Pulling in with both the blue and pink shapes in the tiles, we went with a jewel-tone purple for our main wall colour. Specifically, we went for Valspar’s ‘Merlin’s Robes‘ – a dark yet cool-toned, rich purple with pink undertones. To keep in with the coooool tone, we used Dulux’s ‘Rock Salt‘ for the ceiling and top section of the walls.
Whilst we always knew that we wanted a dual-tone hallway, panelling came along a little bit later into the planning. Thanks to the integrity of Victorian walls, as well as the cost of re-wallpapering a room, getting in new wallpaper to replace the woodchip paper was a no-no. However, we knew panelling would help draw the eye away from the woodchip and would fit in with our Victorian theme. I have to admit, whilst I provided the inspiration pictures, my husband was the mastermind and grafter behind this panelling. In fact, I came home from a weekend away to find the nicotine walls were gone, panelling was up, and the first coat of paint was on. He’s an ‘acts of service’ kind of guy, and now every time I look at our hallway, it makes me think of him. Disgusting, I know. But back to the panelling – my husband measured what was required and got regular plywood cut to size at B&Q. Then it was just a lot of Liquid Nails, spirit level balancing, and wood filling any gaps. Wood filling the gaps we my task, and I won’t say I did a perfect job, but I love my lumpy, bumpy panels because we did it.
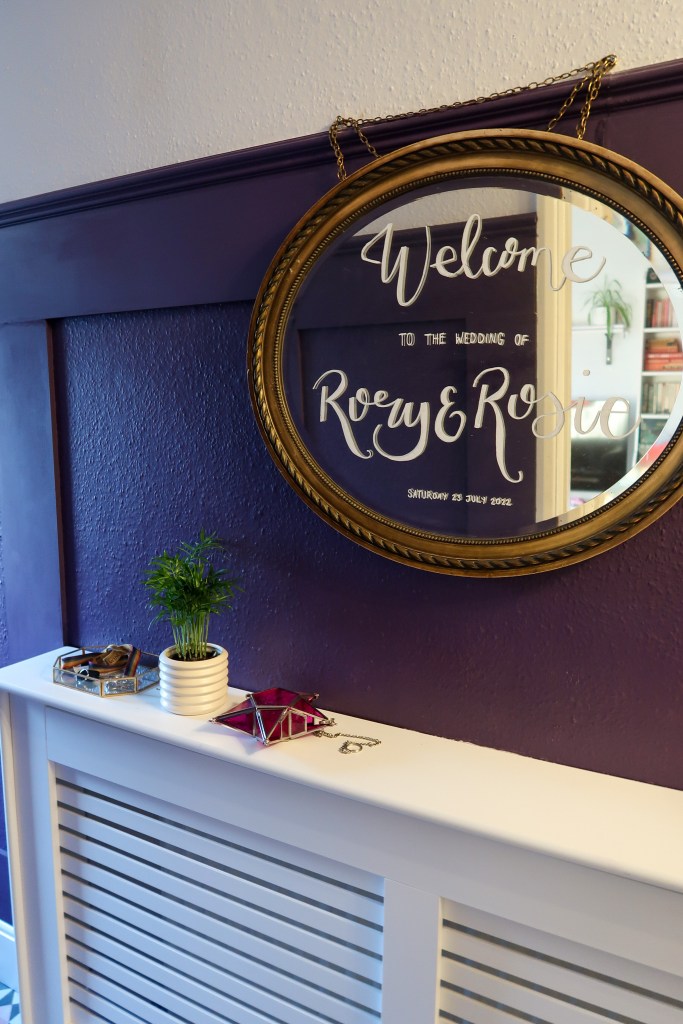
In keeping with the Victorian theme, we chose tall skirting boards as well as to use a dado rail on top of the panelling to add some texture. Speaking of texture, we had a rather wavy, nineties style, unsightly radiator smack bang in the middle of the hallway that had to be covered. So we purchased a slatted radiator cover to fit in the hallway. Whilst it does take up a bit of space in our 90cm wide hallway (yeah, it’s a tiny hallway), it has given us a faux mantelpiece as well as a fully functioning radiator, so I’m more than happy.
With the radiator cover acting as a central point to the room, this is where the decor springs from. I DIY’d this welcome message on a mirror for our wedding, and considering its antiquity, it simply had to go in the hallway. Once we knew we were moving into a Victorian home, I started to collect some period-inspired pieces to go on our walls.
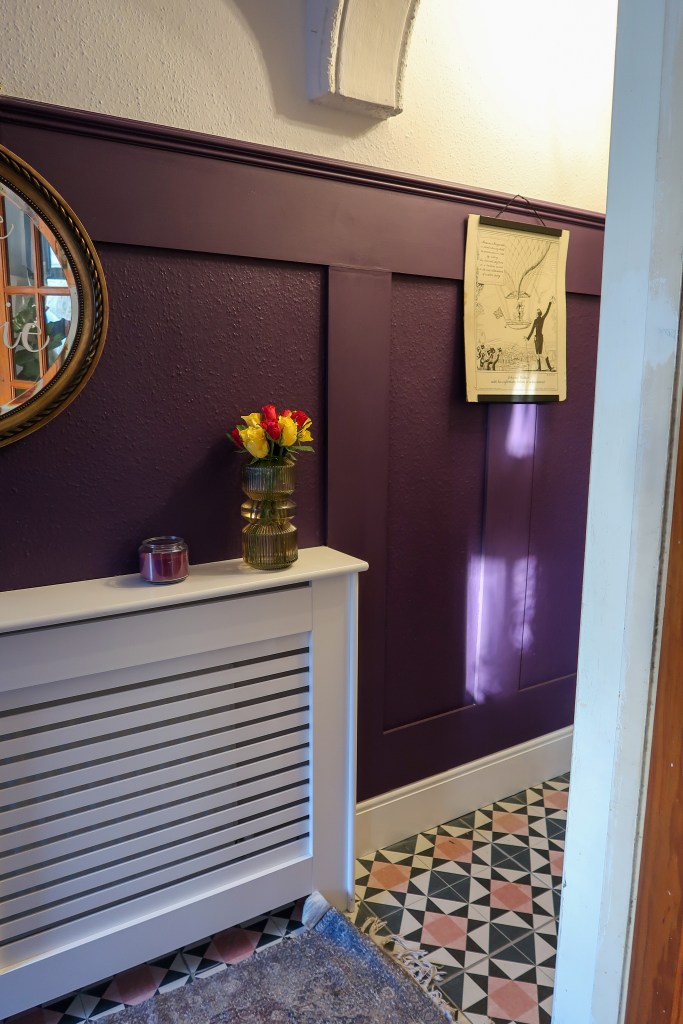
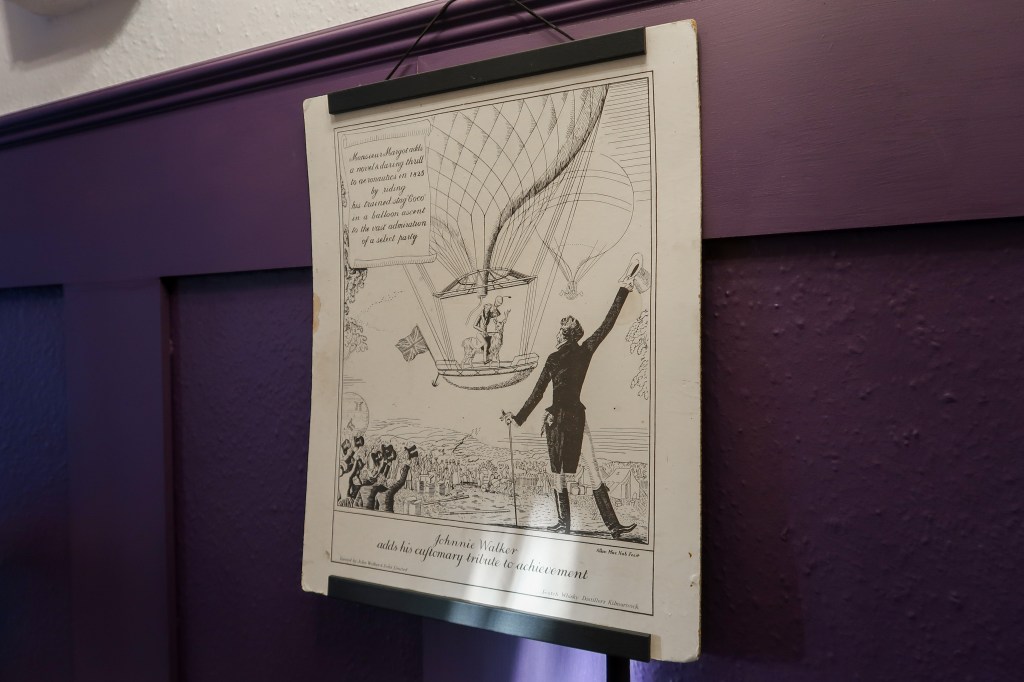
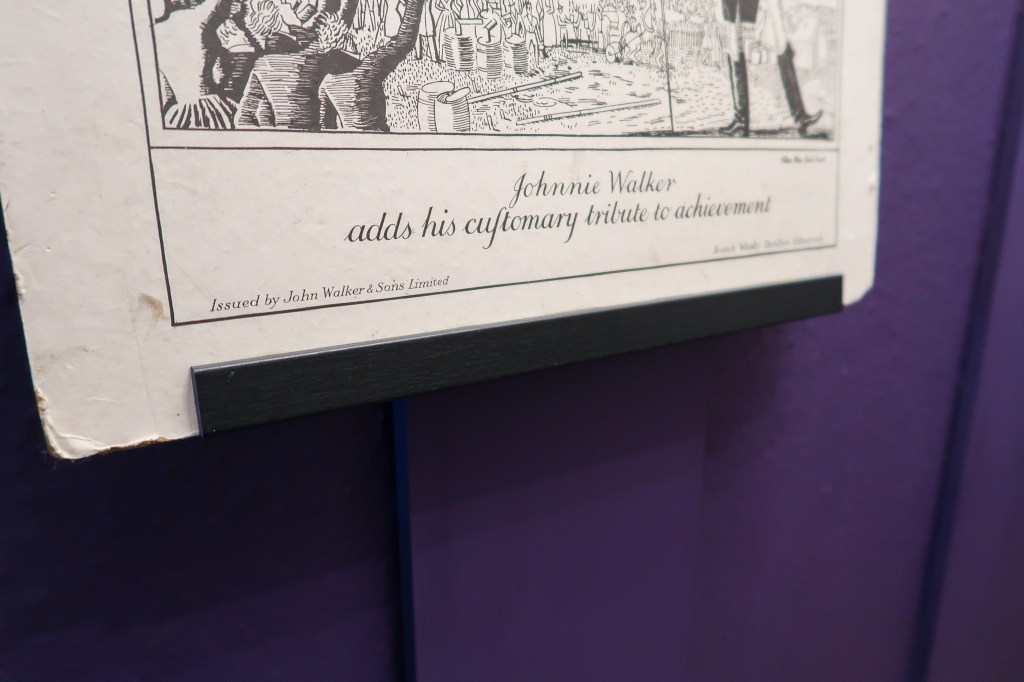
This vintage Johnny Walker advertisement cost me three pounds from Oxfam and was everything I wanted and more from a print. It turns out, it may be a pretty rare print from the 1920s, so I’ll be holding on to that for a wee bit, thank you. Before any of you come at me, the bottom and top of the picture were stripped and covered in glue so I didn’t cause any new damage to the print using a poster frame. I also found a print of Van Gogh’s Cafe Terrace at Night in another charity shop which now welcomes you as you open the door. That Van Gogh piece is one of my favourites and sits so beautifully in the colour scheme, I just had to put it up. Yes, I know Van Gogh’s fame and work didn’t pick up until the twentieth century, but he lived in the Victorian era, so I’m sticking with it. And it’s my house, so I can do what I want.
We also chose a brass chandelier to replace the grey and glass monstrosity that lived in the hallway before, and paired it with a cheap ceiling rose to hide the messy plaster work of the previous owners. With a few other gold and black knicknacks to tie it all together, like the mirror and key bowl, our Victorian style hallway of dreams is complete. Well, almost.
We have a few areas around the doorways and stairs that still need to be tiled and sealed. We broke our diamond drill bit during the initial tiling process so had no way to cut the final tiles to size. But, family doth prevail, and we have borrowed some new tiling equipment to help us finish the room. Oh, and I want to get my hands on some brass style switches to replace the white ones we currently have. But for two DIY enthusiasts with time and some energy under their belts, this will all get done in a day.
So, that is my Victorian hallway of dreams; DIY style. Whilst stressful at certain points, it was a really fun project and allowed both me and my husband to learn new skills and become better renovators for it. Let me know in the comments below if you have any questions about our hallway process; from how we learnt to tile and panel, to how I found period appropriate prints and pieces. Or just let me know what you think!
Thanks for reading,
Rosie x
Socials: Instagram | Twitter | Facebook | Pinterest |
Educate & Donate: Stephen Lawrence Day | Stonewall UK | Survivor’s Trust | Mind |

Leave a comment